How to Stop Trailer Hitch Rattle and Movement
Stop trailer hitch rattle by finding the source first: receiver-to-shank play, ball mount slack, a loose pin, worn hitch pin holes, or trailer coupler movement. Fixing the wrong joint wastes money, leaves the noise in place, and can let wear spread. This guide shows how to trace the movement and match the repair to the failure mode.
What you’ll need
- Flashlight
- Gloves
- Rag or wire brush
- Jack stands or wheel chocks for a parked inspection
- Tape measure or caliper for checking hitch and ball sizes
- Basic hand tools for the pin, tightener, or coupler hardware
- Torque wrench for ball-mount and ball hardware if you remove parts
- Replacement hitch pin and retaining clip if the old set is bent or worn
- Correct hitch ball size for the trailer coupler
- Anti-rattle device, tightener, or shim kit matched to your receiver setup
How hitch noise starts
Trailer hitch noise usually begins with movement in one part of the towing stack: receiver, shank, pin, coupler, ball, or weight-distribution hardware. A light metallic rattle often shows up on rough roads and bumps, while a heavy clunk may appear during braking or acceleration. Grinding is a high-urgency sign that needs immediate inspection.
Where the noise shows up
Listen for when the sound changes. Noise that appears while parked and wiggling the mount points to fit or hardware issues. Noise that appears only while towing can come from the coupler, ball, or weight-distribution parts. Movement on rough roads points more strongly to receiver play or an adapter setup.
Is a little hitch movement normal?
Yes. Some clearance is normal because a hitch shank must slide into the receiver tube and still be removable. A 2-inch receiver and a 2-inch hitch shank are not manufactured as a perfect interference-fit pair. The question is not whether there is any movement, but whether the movement is small and expected or large enough to rattle, clunk, or shift side to side.
Receiver size versus shank size clearance
A 2-inch receiver setup can move up, down, side to side, and front to back a little when unloaded. That clearance helps installation and removal. Wear, elongation, bent parts, or corrosion can turn normal clearance into excess play. A 2.5-inch receiver with a 2-inch shank and adapter sleeve adds another interface, so it may move more and may need more frequent checks.
Normal clearance versus worn parts
Normal clearance is usually minor and consistent. Worn parts often show uneven motion, metal dust, elongated pin holes, or a hitch pin that sits crooked. If the shank visibly drops, shifts hard side to side, or knocks with a sharp clunk when you brake or accelerate, treat it as more than normal play.
Hitch noise diagnosis table
| Symptom | When it happens | Likely source | Quick parked test | Stop towing? |
|---|---|---|---|---|
| Light rattle | Rough roads, bumps | Receiver play, adapter movement, loose pin | Push up, down, side to side on the shank in the receiver | No, if movement is minor and hardware is sound |
| Heavy clunk | Braking or accelerating | Excess receiver play, worn pin holes, coupler play | Check pin seating, then rock the mount by hand | Yes, if the clunk is sharp or increasing |
| Squeak or groan | Turning, slow maneuvers, towing | Dry or rusty hitch ball, coupler contact, weight-distribution friction | Inspect ball surface and coupler fit | Maybe, if the noise is new and severe |
| Pin movement | Parked or in motion | Missing clip, bent pin, worn pin holes | Check that the clip is fully seated and the pin does not wobble | Yes, if the pin cannot secure correctly |
| Adjustable hitch noise | Turns, bumps, load changes | Extra joints, slots, or set bolts in an adjustable hitch | Inspect every joint and fastener for movement | Yes, if a joint is loose or damaged |
| Weight-distribution noise | Tight turns, uneven driveway entrances | Spring bars, brackets, sockets, chains, head assembly | Inspect friction points and hardware alignment | No, if the sound is light and expected; yes if movement is abrupt |
| Rattle near exhaust | Idle, bumps, engine load changes | Exhaust contact with hitch or mount | Look for witness marks and clearance near the exhaust | Yes, if contact is hard or repeatable |
| Stiff, rough install or removal | Mounting or unmounting | Corrosion in receiver or on shank | Inspect for rust, debris, and pitting | Maybe, but inspect closely before towing again |
How to stop receiver hitch rattle
Start with the receiver-to-shank connection. Clean the receiver tube, inspect the shank, confirm the pin fully seats, and use a hitch tightener if the noise comes from that joint. A hitch tightener is one of the simplest fixes for normal receiver movement, but it only helps when the noise comes from the hitch-to-receiver connection.
Receiver, pin, and shank checks
- Remove and inspect. Pull the ball mount, then check the receiver tube, shank, hitch pin, and retaining clip for bending, elongation, rust, or debris.
- Confirm full seating. Reinstall the shank and make sure the pin passes cleanly through both sides and the clip locks fully. A missing or damaged clip can let the pin work loose.
- Test for play. With the vehicle parked, push the shank up, down, side to side, and front to back. If the movement is more than a light tap, add a tightener or move to the next repair.
Choose the right tightener
- Match the device. Use a U-bolt and plate, clamp-style tightener, or shim-style solution that fits your receiver size and shank shape.
- Tighten evenly. Tighten the fastener until the shank is pressed firmly against the receiver wall, then recheck the pin and clip. Some clearance is still needed for removal, so do not crush the tube.
- Recheck after driving. After a short drive over rough pavement, inspect again. If the rattle returns quickly, look for wear, corrosion, or another noise source instead of adding more force.
Device styles and tradeoffs
- U-bolt tighteners: Common and simple. They apply pressure between the shank and receiver with a U-bolt and plate, but they can be bulky and may need periodic retightening.
- Clamp-style devices: Cleaner in appearance and often easier to access. They work well for daily towing, but fitment matters and they may not solve wear inside an oversized or damaged receiver.
- Shim-style solutions: Useful when fit clearance is the main issue. They can reduce movement, but they add another part to inspect and are less helpful if the pin holes or shank are worn.
How do you tell if the noise is from the receiver or the coupler?
Look at where the movement starts. Receiver noise shows up at the truck side and usually changes when you move the shank by hand. Coupler noise comes from the trailer side and depends on the ball-to-coupler fit. A receiver tightener will not fix a loose or worn coupler, and it will not cure a mismatched ball size.
Trailer coupler and hitch ball checks
- Check ball size first. Confirm the trailer coupler matches the hitch ball diameter. A trailer coupler must match the hitch ball diameter and should not be assumed correct.
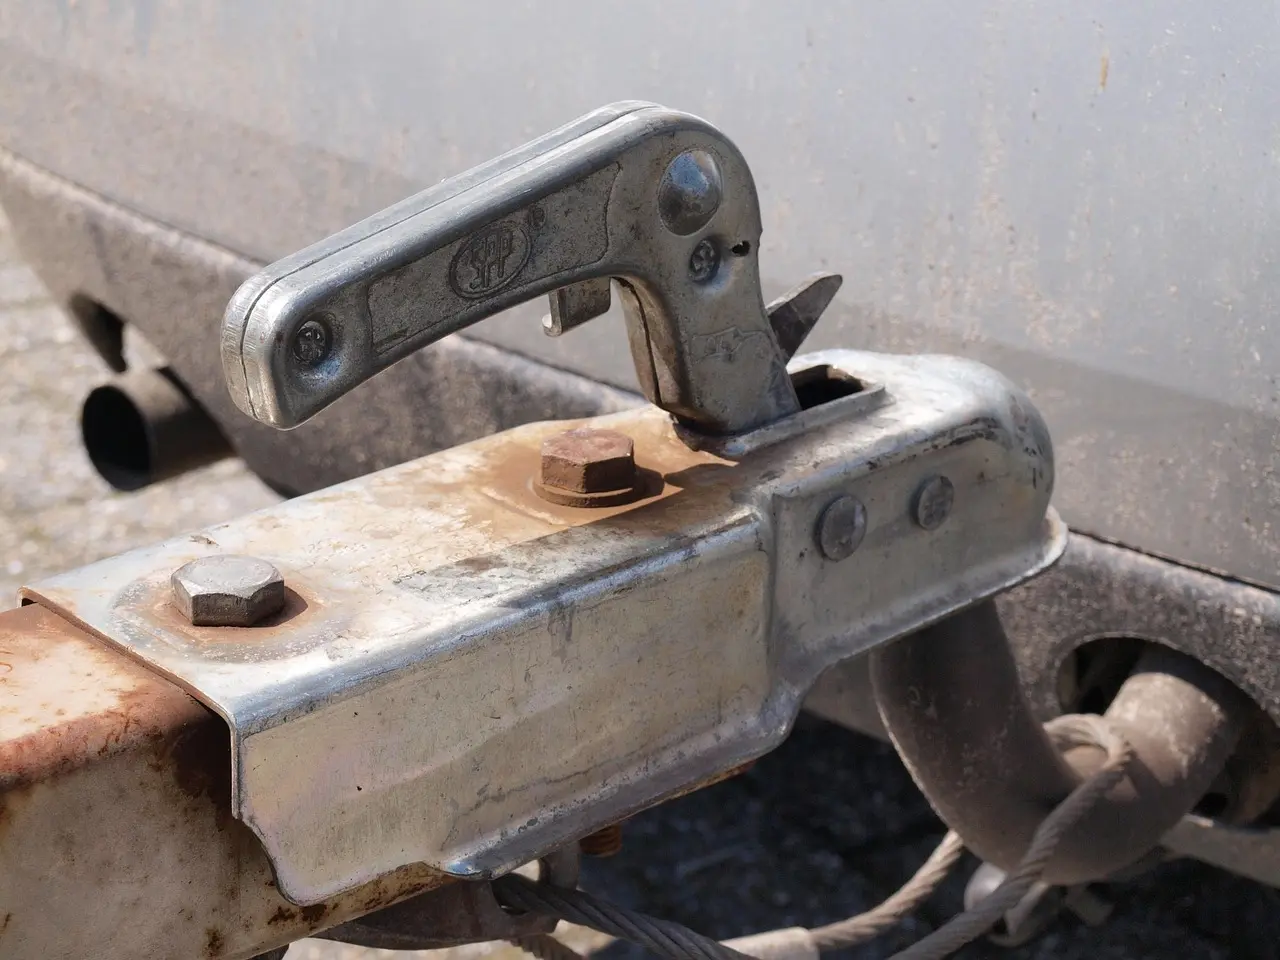
- Inspect the coupler latch. Close and secure the latch, then check for sideways play on the ball. If the coupler can rock on the ball, the problem is on the trailer side.
- Inspect ball hardware. Look for a dry or rusty ball, loose mounting hardware, or poor torque on the ball mount. Dry or rusty ball surfaces can squeak or groan.
Adapter sleeves and adjustable hitches
Adapter sleeves and receiver adapters create another connection point, so they can add clearance and movement. Some clearance can exist between a 2-inch hitch and a 2.5-inch receiver when using an adapter sleeve. Adjustable hitches add more joints, set bolts, and surfaces that need regular checking, especially in extension or mixed-size setups.
Suppose a van has a 2.5-inch receiver, a 2-inch shank, and an adapter sleeve. If the rattle disappears after the sleeve is removed and the correct-size shank is installed, the extra connection point was the problem. If the noise stays, move on to the pin, pin holes, or coupler.
Why does my trailer hitch rattle and clunk?
Rattle and clunk usually mean there is more than one movement point. The receiver-to-shank fit can rattle on rough roads, the coupler can clunk during braking or acceleration, and a loose pin can add a sharp knock. If the sound is heavy, repeatable, or getting worse, stop and inspect before towing farther.
Weight-distribution hitch noise
Some weight-distribution hitch noise is expected during tight turns or uneven driveway entrances. Spring bars, brackets, sockets, chains, and head assemblies are separate friction points, so groan, pop, or movement sounds can be normal. Check for correct setup, but do not assume every sound means damage.
When movement means stop towing
- Loose receiver mounting bolts
- Cracked welds at the receiver or frame attachment points
- Severe corrosion around mounts or welds
- Pin holes that are visibly elongated or broken
- Coupler movement that cannot be removed with correct ball sizing and adjustment
Common mistakes
Many owners buy an anti-rattle device before checking the pin, receiver, shank, or coupler. That can miss the real fault and leave worn hardware in service. Another mistake is treating every noise as a receiver problem, even when the trailer coupler, ball, or weight-distribution parts are the source.
Rust can create two problems at once: a stuck hitch and extra clearance over time. Surface corrosion can make a steel hitch rougher to install or remove, but deeper corrosion can also widen wear points and add movement. Clean the receiver and shank, then inspect for pitting before deciding on a fix.
A common first-timer mistake is adding more force instead of more diagnosis. If a clamp-style or U-bolt tightener does not remove the noise, do not keep tightening blindly. Check the pin holes, adapter sleeve, adjustable joints, and coupler fit again.
How to stop trailer hitch noise
Stop trailer hitch noise by matching the fix to the exact source: receiver play, coupler play, ball mismatch, adapter movement, or weight-distribution friction. Start with inspection, then clean and tighten the correct joint. If you still hear grinding, loose mounting, or hard clunking, stop towing and inspect the structural parts before moving on.
If that didn’t work, try this next
- Move to the trailer side. Recheck coupler latch adjustment, ball size, and ball hardware torque if the receiver side is tight but the noise remains.
- Remove extra interfaces. Swap out adapter sleeves or stacked extensions where possible, because each added connection can create another point of movement.
- Inspect structure. Check receiver mounting bolts, frame attachment points, welds, and corrosion. If anything is loose, cracked, or heavily rusted, do not tow until it is inspected.
For unloaded daily driving, a properly fitted shank, a sound pin, and a basic tightener may be enough. For frequent towing, inspect the pin holes, adapter sleeves, and coupler fit more often. For heavier-use recreational or fleet setups, schedule regular checks on the receiver mount, adjustable joints, and ball hardware, because wear and corrosion build faster with more use.
Frequently asked questions
How to tell if the noise is from the receiver or the coupler
Park on level ground and move the shank by hand. Movement at the truck side points to the receiver, pin, or shank. Movement at the trailer side points to the coupler or ball. If the coupler rocks on the ball, confirm the ball diameter and coupler adjustment first.
Will an anti-rattle device fix every hitch noise?
No. It only helps when the noise comes from the hitch-to-receiver connection. It will not fix a loose coupler, worn ball, bent pin, damaged pin holes, cracked welds, loose frame bolts, or severe corrosion. Use it as a fitment tool, not a structural repair.